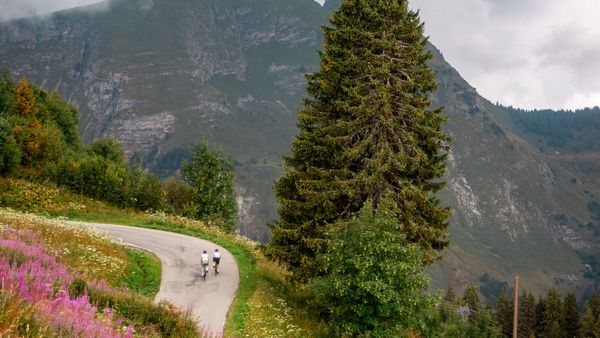
Figuring out where you will ride is half the fun of an upcoming road cycling trip.
But you can't drop a few pins in a route planner and trust the algorithm to build a great ride. Do that and you end up on potholed lanes, busy main roads, or gravel tracks on a road bike.
You want quiet roads and good climbs, with distances that don't wreck your legs on day one. Here's the process we follow when we build routes in unfamiliar places.
If you love the process of building your own rides, we are happy to share our secrets. Here is the exact playbook our team uses to craft perfect routes in unfamiliar places.
At The Ride Atlas, we do this heavy lifting for you. Every single route in our guides is vetted and approved by local experts.
Why Auto-Generated Routes Fail
Routing software optimizes for distance, elevation, and popularity. The software relies heavily on open-source data that volunteers update by hand.
The algorithm doesn't know that a valley road fills with trucks every weekday morning. It can't tell you a lane has a broken surface or an unrideable gradient.
In most route planners, a perfect alpine road looks identical to a crumbling lane with a blind bend every 50m. Software also loves unexpected shortcuts through pedestrian zones or onto gravel paths.
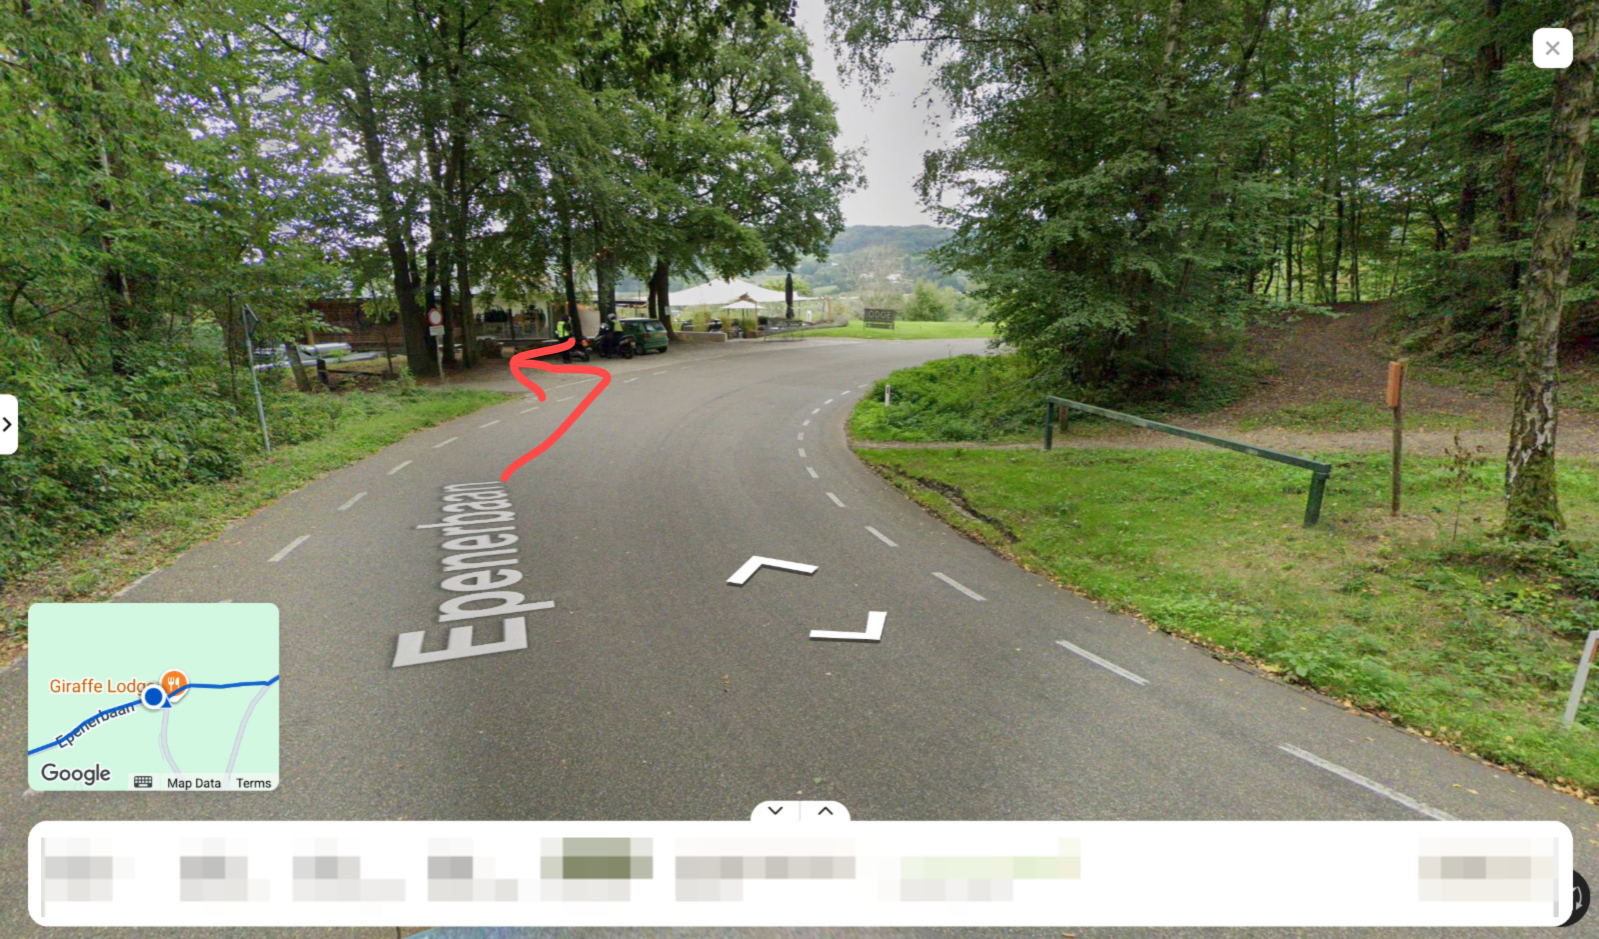
Would you turn left here or follow the road? Some auto-generated routes send you down this path.
Step by Step: How to Build a Route
Follow this process for every new ride:
- Pick your must-dos: famous climbs, coastal roads or key towns.
- Check local heatmaps (map layers that show where other cyclists ride most) to see where local riders actually go.
- Draft a rough loop that connects your highlights.
- Turn on surface filters in your route planner to stay on smooth tarmac and avoid surprise gravel or 20% walls.
- Check every section on Street View, especially quiet back roads.
- Adjust the route to cut out heavy traffic and poor surfaces.
- Plot food and water stops along the way.
- Check opening hours for those stops on the day you'll ride.
- Save the GPX file (the standard route file your bike computer reads) to your phone and bike computer.
If you download someone else's route, never trust it blindly. Riders take wrong turns and cut through private land all the time. Run every third-party file through steps 4 to 8.
Use Street View and Local Knowledge
Check every uncertain road on Google Street View before you finalize a route. Look for:
- Surface quality: smooth tarmac, or crumbling edges, deep seams and potholes.
- Traffic: several cars in a single frame usually means a busy commuter road.
- Road layout: solid white lines, wide shoulders or bike lanes.
- Sightlines: twisty, narrow roads slow cars down. Wide, straight roads encourage speed.
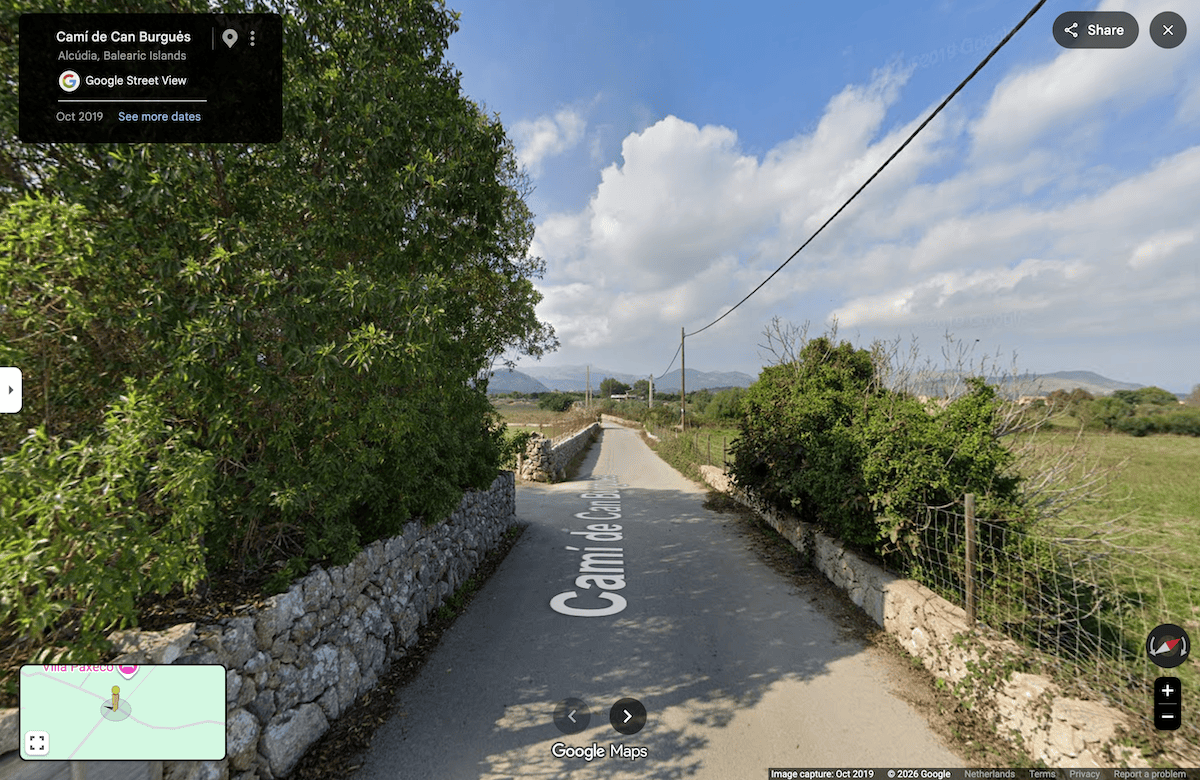
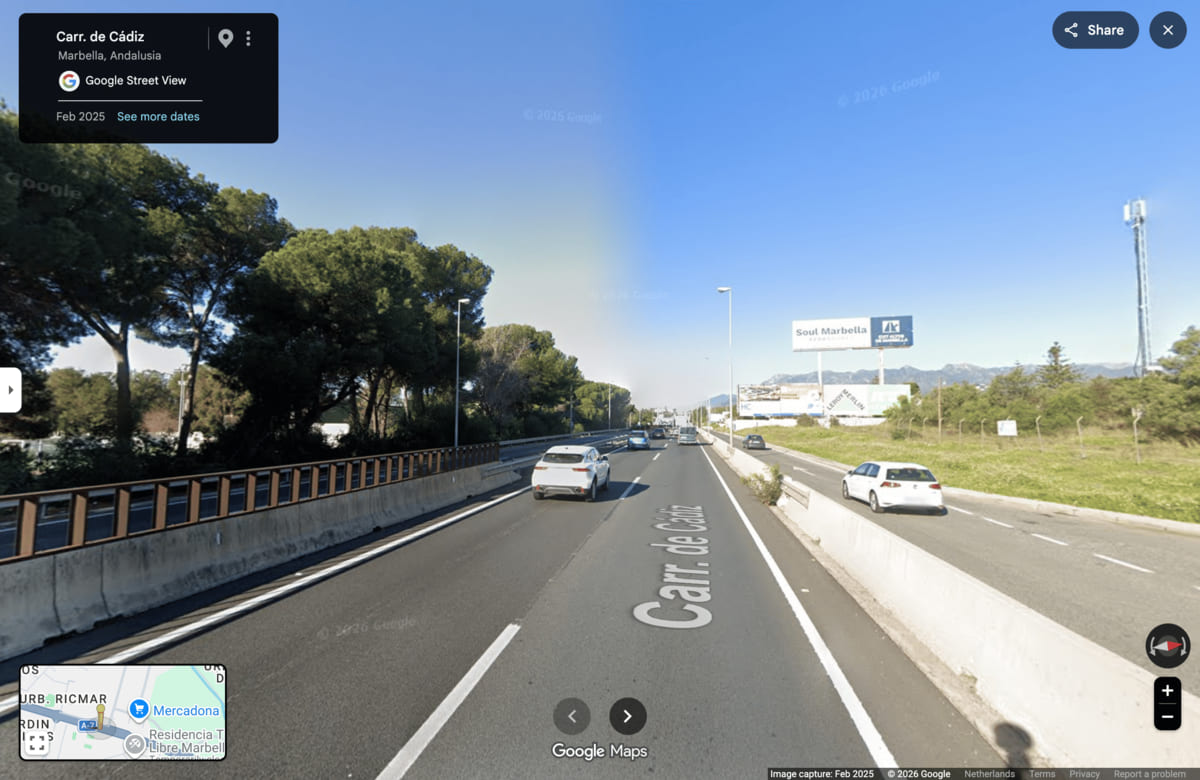
Left: quite road, where you can expect low traffic
Right: busy road with lots of traffic
Don't reinvent the wheel. Strava Heatmaps show where most riders go. Dense heat marks local favorites, and a gap on a scenic road usually signals a problem. Switch between the global and weekly views to see how a road's popularity changes with the seasons.
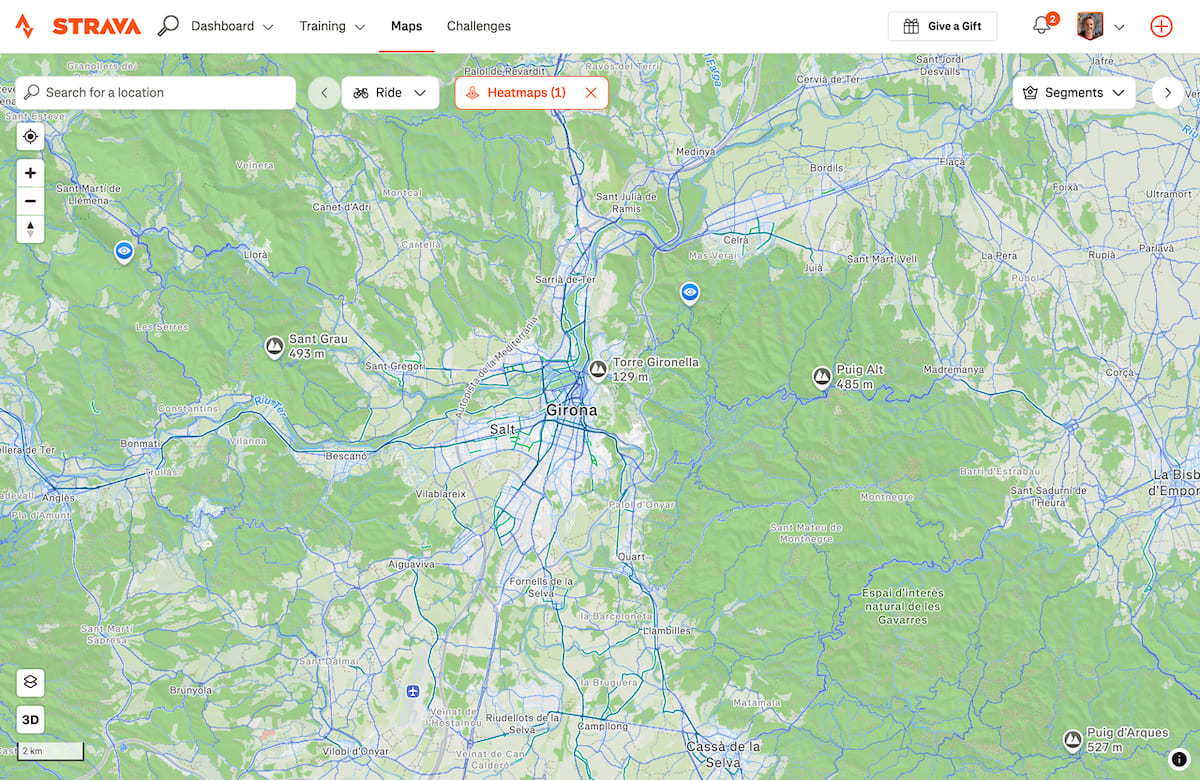
Look up famous segment leaderboards on Strava too. Check the activities of local riders and see how they connect big climbs into full loops.
On The Ride Atlas we include a link to the Strava Climb segments directly in our destination guides.
Plan Food, Water, and Environment
In remote areas or mountain ranges, you can easily ride 50km without seeing an open shop or town.
Tenerife is a classic example. Climb El Teide on certain routes and you ride uphill for hours with no cafés, shops or fountains until the descent.
Knowing that changes everything. You carry extra bottles, pack more food than you think you need, and ration early. Add your refuel points to the route file as waypoints.
Check the wind forecast before you choose which way to ride a loop. Ride out with a tailwind along the coast or up a valley, and you face a brutal headwind on the way home when your legs are tired.


Local opening hours matter too. Village shops in France, Italy and Spain often close between lunch and dinner. Bakeries often close on Mondays, and small mountain towns shut down on Sundays.
Check individual cafés on Google Maps for seasonal hours. When information is limited, ask your host before you roll out, and always carry spare energy barsd.
Structuring a Multi-Day
Planning one great ride is easy. Planning a balanced week takes pacing, so you don't burn out or get injured by day three.
Try this structure:
- Day 1: Shakeout ride. Under two hours with easy climbing. Test your bike setup and shake off the travel.
- Day 2: Warm-up. A classic route with decent distance, but hold some energy back.
- Day 3: Queen stage. In stage races, the queen stage is the hardest day. Save your biggest ride or bucket-list climb for now, while your legs are still fresh.
- Day 4: Active recovery. Ride half your usual distance on flat roads and take a long coffee stop.
- Day 5: Grand finale. End on a high with another scenic, memorable route.
With our Trip Planner you organize your entire trip and plan the rides for each day.
Plan for Navigation and Bailouts
Getting lost in an unfamiliar country drains your energy, daylight, and morale.
Load the GPX file onto your phone and bike computer, and make sure the regional maps on your bike computer are downloaded and up to date. Download offline maps on your phone in Google Maps or Maps.me as a backup for patchy signal.
Finally, give every route an escape option. Mark the points where you can cut the loop short if the weather turns, something breaks or your legs give out. Knowing you have a shortcut home takes a lot of pressure off.
With your routes planned, the last step is to make sure you pack the right items for your trip.
Skip the Stress
If you prefer packing your kit and training your legs over spending hours on Street View, let us handle the planning.
Check out our curated, expert-vetted route guides at The Ride Atlas to unlock the best road cycling anywhere in the world. We eliminate the guesswork so you can focus on the ride.